Den deutschen Post gibt es hier / Read this post in German here: Maschenstich im Muster
Kitchener stitch – a short refresher
Today I want to show you how to graft your stitches with Kitchener stitch when your sock – or whatever you want to graft – has a pattern.
If you need a short refresher how Kitchener stitch is worked, I have a video on my Youtube channel where I am grafting an Aran version of my Nightowl sock (available on Ravelry, Payhip and Lovecrafts)
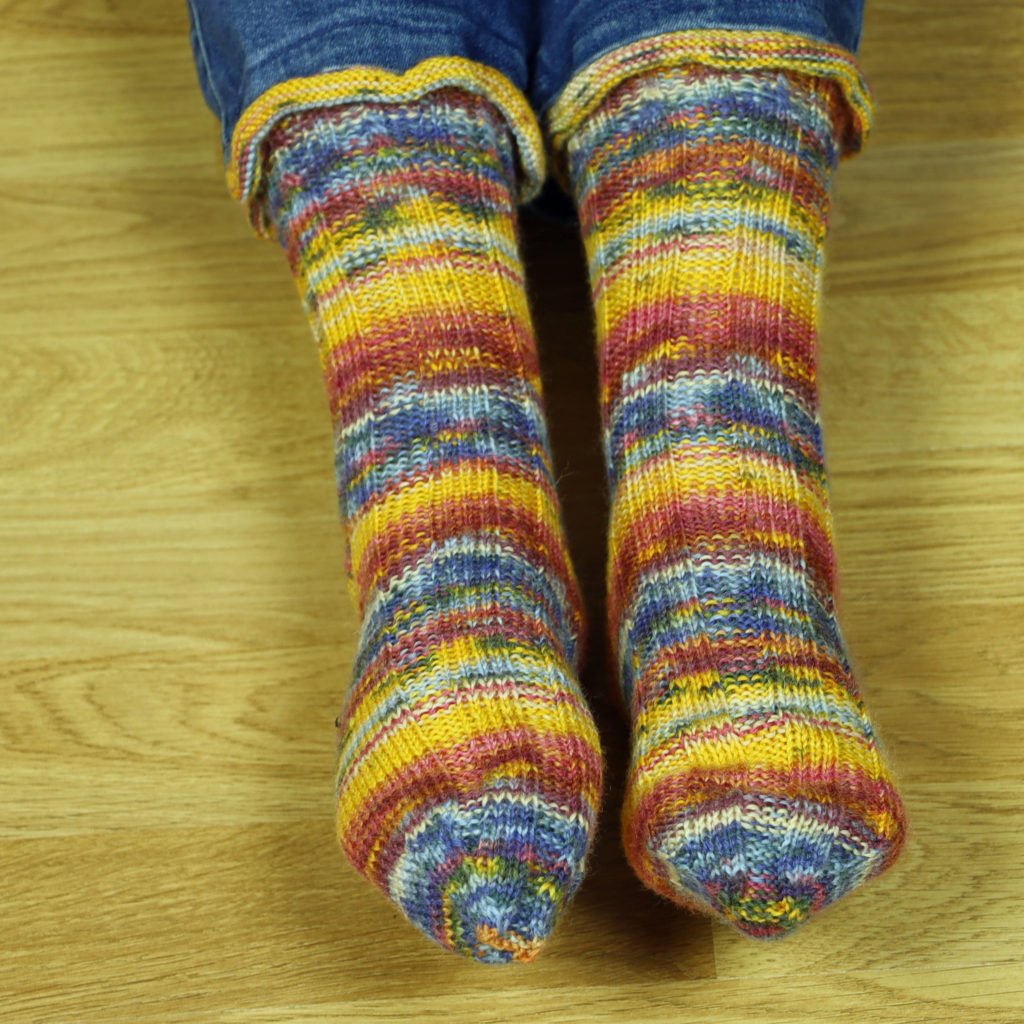
But what if your sock toe is not worked in stockinette stitch? To find out what we have to do in that case, let’s take a look at a stockinette toe first, shown here is Amour Fou (available on Ravelry, Payhip and Lovecrafts).
Kitchener stitch for Stockinette
As you know – or have just seen in my video – grafting consists of several steps that lead to you creating one more row of fabric.
Remember that the sole stitches on your front needle all appear as knit stitches and the instep stitches on your back needle all appear as purl stitches. On the front needle you want to create more knit stitches and on the back needle you want to create more purl stitches.
To graft these stitches together, we do the following
Set-Up
Set-Up 1: Insert the needle as if to purl into the knit stitch on the front needle and pull the yarn through
Set-Up 2: Insert the needles as if to knit into the purl stitch on the back needle and pull the yarn through
Repeat:
Step 1: Insert the needle as if to knit into the knit stitch on the front needle, pull the yarn through and take the stitch off the needle
Step 2: Insert the needle as if to purl into the knit stitch on the front needle and pull the yarn through
Step 3: Insert the needle as if to purl into the purl stitch on the back needle, pull the yarn through and take the stitch off the needle
Step 4: Insert the needle as if to knit in to the purl stitch on the back needle and pull the yarn through
You may notice three things
1. You go through every stitch twice before it is taken off the needle
2. The first time you go through the stitch, you do the opposite of the way you want the newly created stitch to appear (go through as if to knit through if you want to create a purl stitch, go through as if to purl if you want to create a knit stitch)
3. The second time you go through the stitch before taking it off the needle, you go through the stitch the way you want the newly created stitch to appear (go through as if to knit if you want to create a knit stitch, go through as if to purl if you want to create a purl stitch)
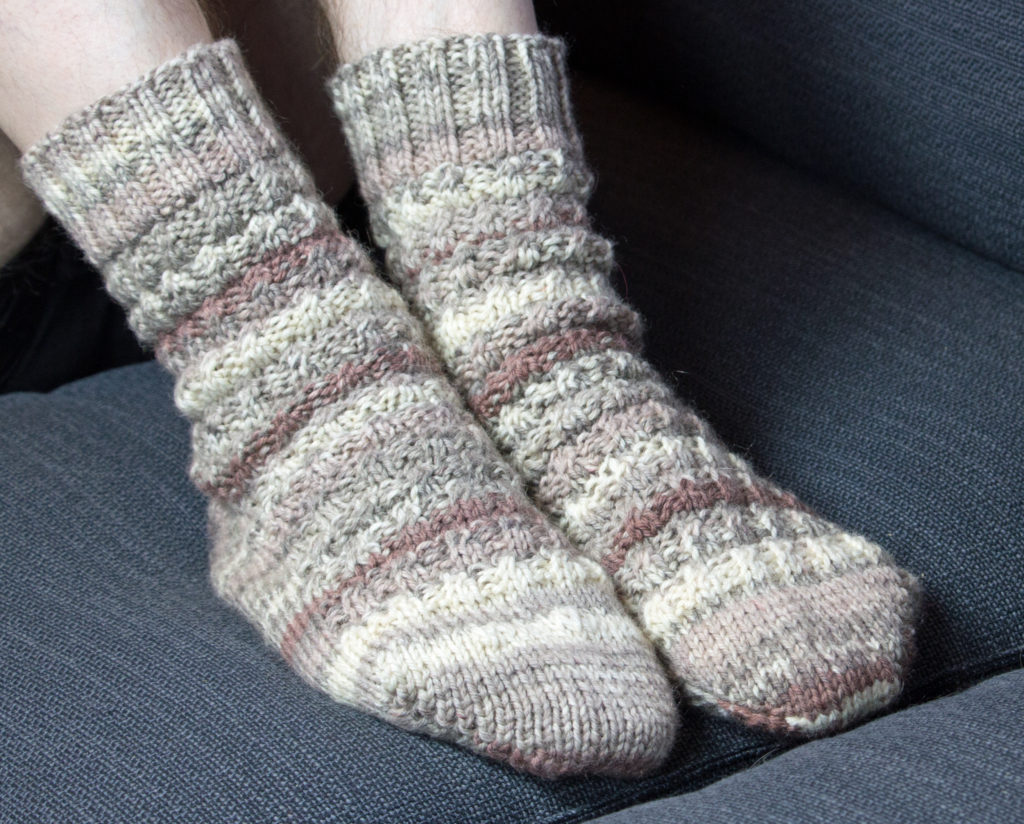
With all that in mind, let’s take a look at a patterned toe like the one I have knit for my Springfield Socks (available on Ravelry, Payhip and soon Lovecrafts)
Kitchener stitch for mixed patterns (like in the Springfield Socks)
What does it look like if you have the sock ready for grafting?

All the sole stitches on the front needle appear as knit stitches. The stitches on the back needle appear as two purls, four knits, two purls. The sock shown is in size b. Sizes a, c, and e will begin with knit stitches, have purl stitches in the middle and knit stitches again at the end.
With the rules we have found above, you can now graft these stitches in pattern.
Set-Up
Set-Up 1: Insert the needle as if to purl into the first stitch on the front needle and pull the yarn through.
Set-Up 2:
– If your next stitch on the back needle is a purl stitch, insert your needle as if to knit and pull the yarn through.
– If your next stitch on the back needle is a knit stitch, insert your needle as if to purl and pull the yarn through.
Repeat
Step 1: Insert the needle as if to knit into the first stitch on the front needle, pull the yarn through and take the stitch off the needle.
Step 2: Insert the needle as if to purl into the next stitch on the front needle and pull the yarn through.
Step 3:
– If your next stitch on the back needle is a purl stitch, insert your needle as if to purl, pull the yarn through and take the stitch off the needle.
– If your next stitch on the back needle is a knit stitch, insert your needle as if to knit, pull the yarn through and take the stitch off the needle.
Step 4:
– If your next stitch on the back needle is a purl stitch, insert your needle as if to knit and pull the yarn through.
– If your next stitch on the back needle is a knit stitch, insert your needle as if to purl and pull the yarn through.
Kitchener stitch for garter
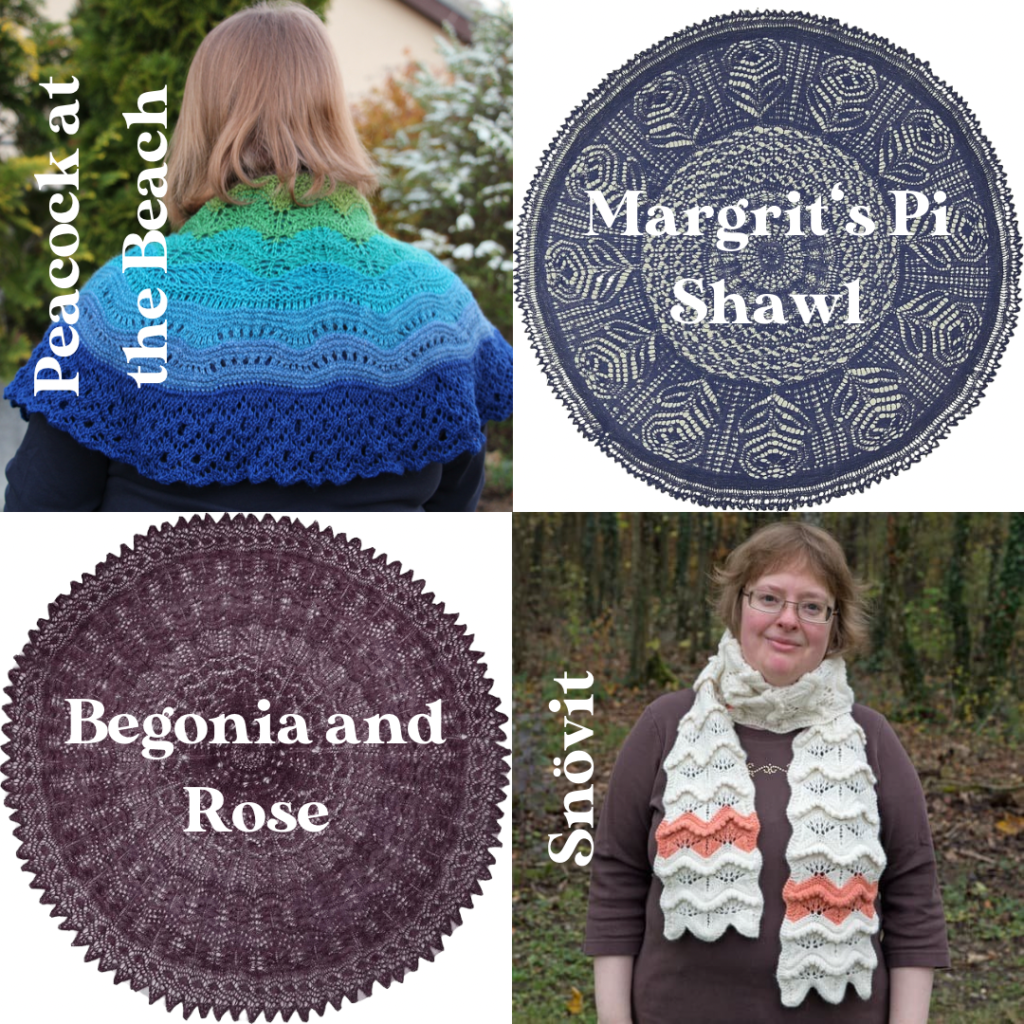
The same rules apply if you want to graft in garter stitch. I’ve used that technique for example in Margrit’s Pi Shawl, Begonia and Rose, Peacock at the Beach or Snövit Scarf (all available on Ravelry, Payhip and Lovecrafts)
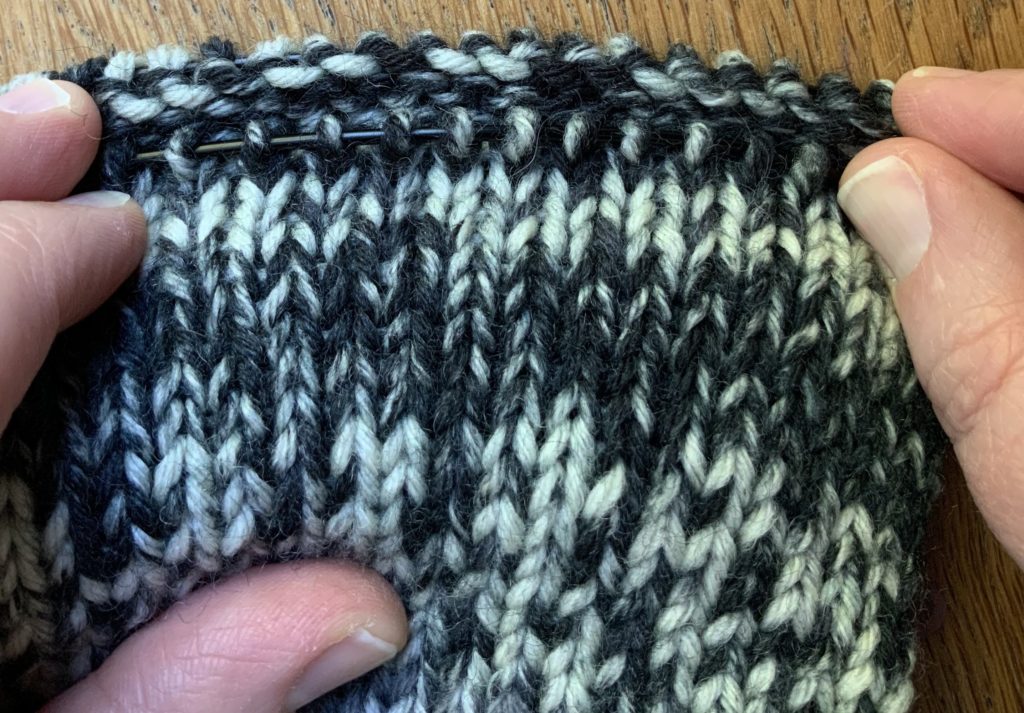
Keep in mind that for garter stitch, if you see a knit stitch on your needle, you want it to appear as a purl stitch on the next row and if you see a purl stitch on your needle, you want it to appear as a knit stitch on the next row.

It is a little hard to see, but all the stitches on the front needle appear as purl stitches and all the stitches on the back needle appear as knit stitches.
So we want to create knit stitches on the front needle and purl stitches on the back needle.
So to graft these stitches we do the following:
Set-Up
Set-Up 1: Insert the needle as if to purl into the first stitch on the front needle and pull the yarn through
Set-Up 2: Insert the needle as if to knit into the first stitch on the back needle and pull the yarn through
Repeat
Step 1: Insert the needle as if to knit into the first stitch on the front needle, pull the yarn through and take the stitch off the needle
Step 2: Insert the needle as if to purl into the next stitch on the front needle and pull the yarn through
Step 3: Insert the needle as if to purl into the first stitch on the back needle, pull the yarn through and take the stitch off the needle
Step 4: Insert the needle as if to knit into the first stitch on the back needle and pull the yarn through
Kitchener stitch for ribbing
Coming soon! (You can totally do this already if you’ve read the rest of the blog post, but I promise to update it next week 🙂 )